Art Studio Reveal
It took longer than we thought, but it is complete and functioning. Early last month, hubby banged out the framing, and then we covered the exterior of the walls with plywood. We had the lighting and outlets installed, and then it was ready for me to put in the insulation. That all went pretty quickly, and without any hiccups. YAY! (Check out the previous blog post for details.)
We debated over doing that nasty drywall work ourselves, or hiring it out. In the end, we hired it out – thankfully. There are just some building tasks I have learned that I do not enjoy doing, and am not very good at… drywall being one of them – laying tile another. So, by mid-April the drywall was in, and the ball was back in my court.
The next task to be tackled was the painting. I chose Valspar’s Summer Gray for the walls and ceiling to have a “blank canvas,” so to speak, for hanging artwork. Since the floor was also just plywood sheets, I wanted to paint a checkerboard on the floor, and used the same Summer Gray as the walls and Sherwin Williams’ Mindful Gray.
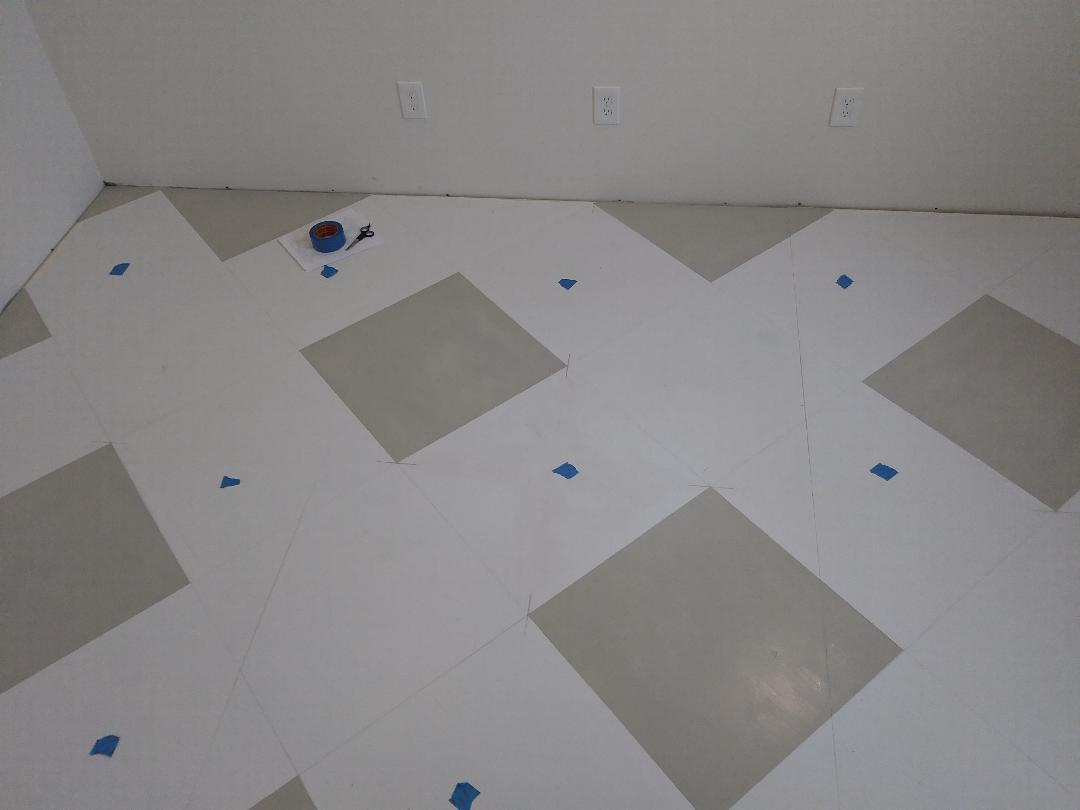
The checkerboard floor was a fun little project – it is a bit trickier to paint it on the diagonal instead of just going straight across parallel to the wall, but I like the effect much better. The steps were:
- Paint the entire floor the lighter color (Summer Gray).

- Find the center of the room using a chalk line, then measure and mark the locations of the squares. The area of the room is 8×12, and I chose 22 inches as the length of the sides of the squares. There was no special formula to find that number, but I did go thru several “to scale” drawings before I found a size that I felt gave me enough squares to make an impact.

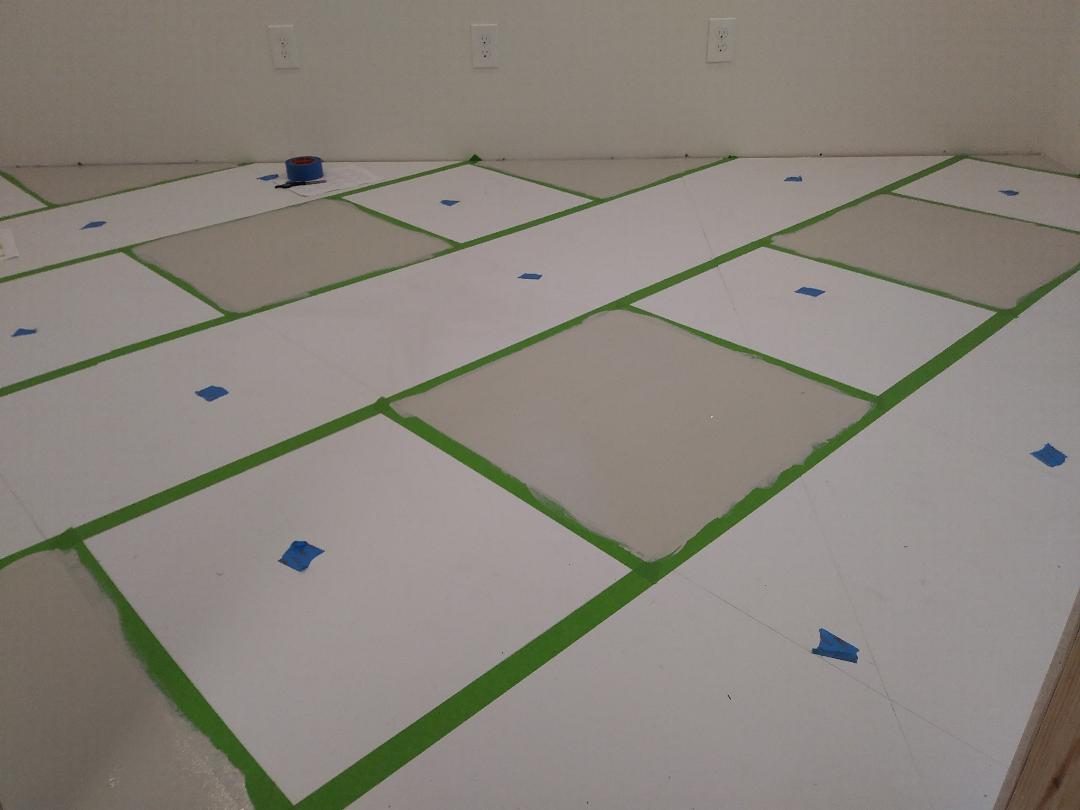
- Using painters tape, tape off the outside edges of every other row of squares to be painted gray. This was so I would not have to go back and free-hand paint any edges.

- Paint initial pass of gray squares, and remove tape.

- Tape the outside edges of the remaining squares to be painted gray.


Remove remaining tape, and top with a couple of coats of polyurethane.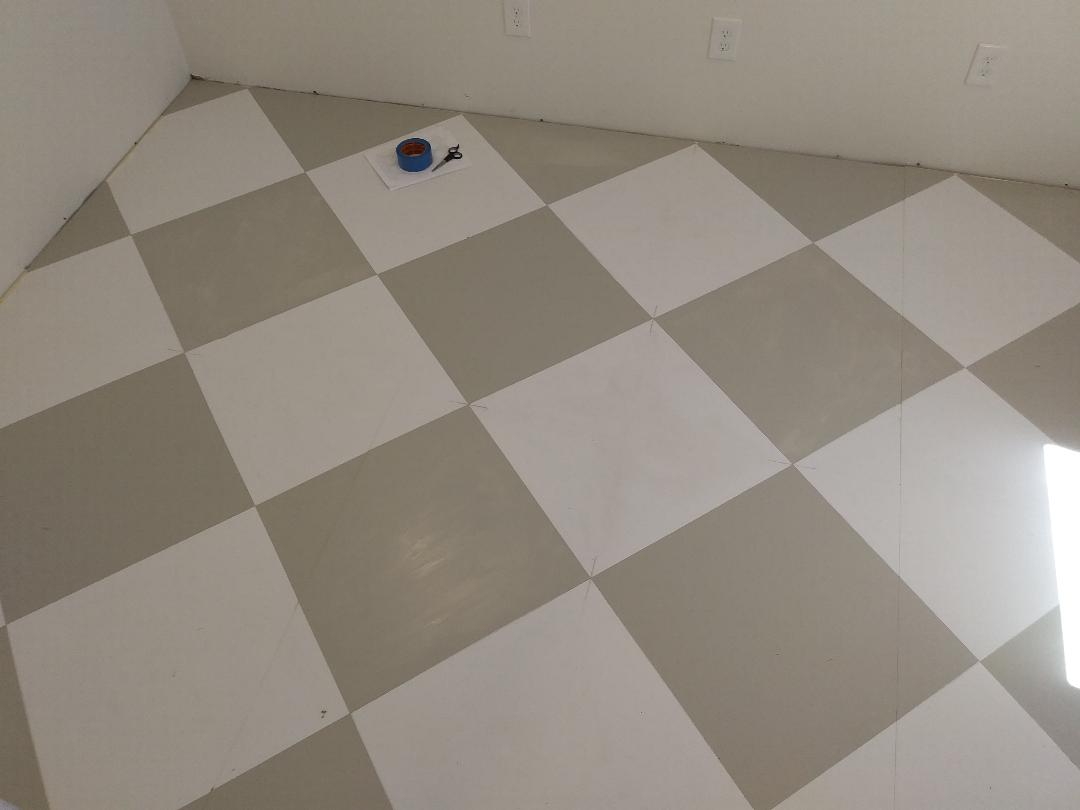 With the flooring done, I passed the baton back to hubby to install the door, and do his special woodworking thing to craft some window trim.
While he worked on those items, I got busy trying to find a way to economically heat and cool the room as well as have access to “running” water. It took a bit of internet searching, but I finally found exactly what I needed.
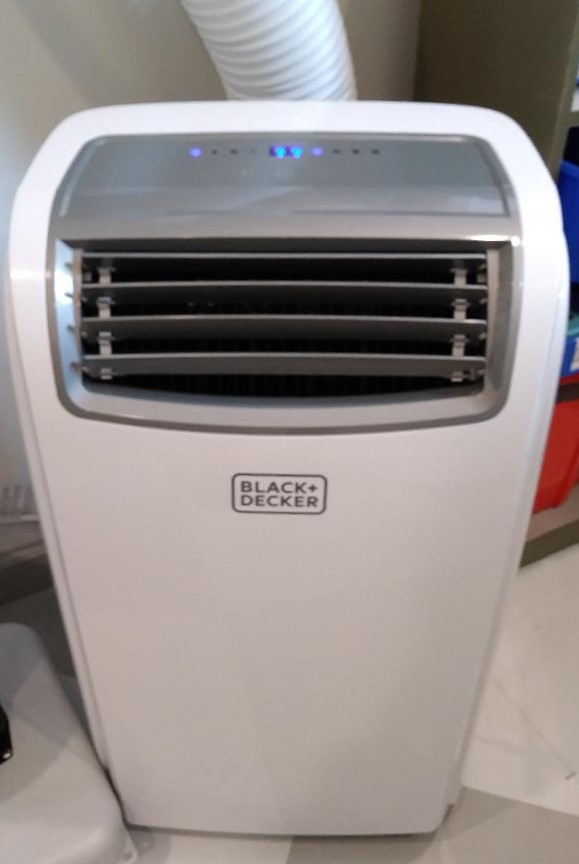 For heating/cooling AND dehumidifying, I chose this Black & Decker Portable Unit. It vents out of the window and does not require any duct work. So far, it is working like a champ, and I am very pleased.
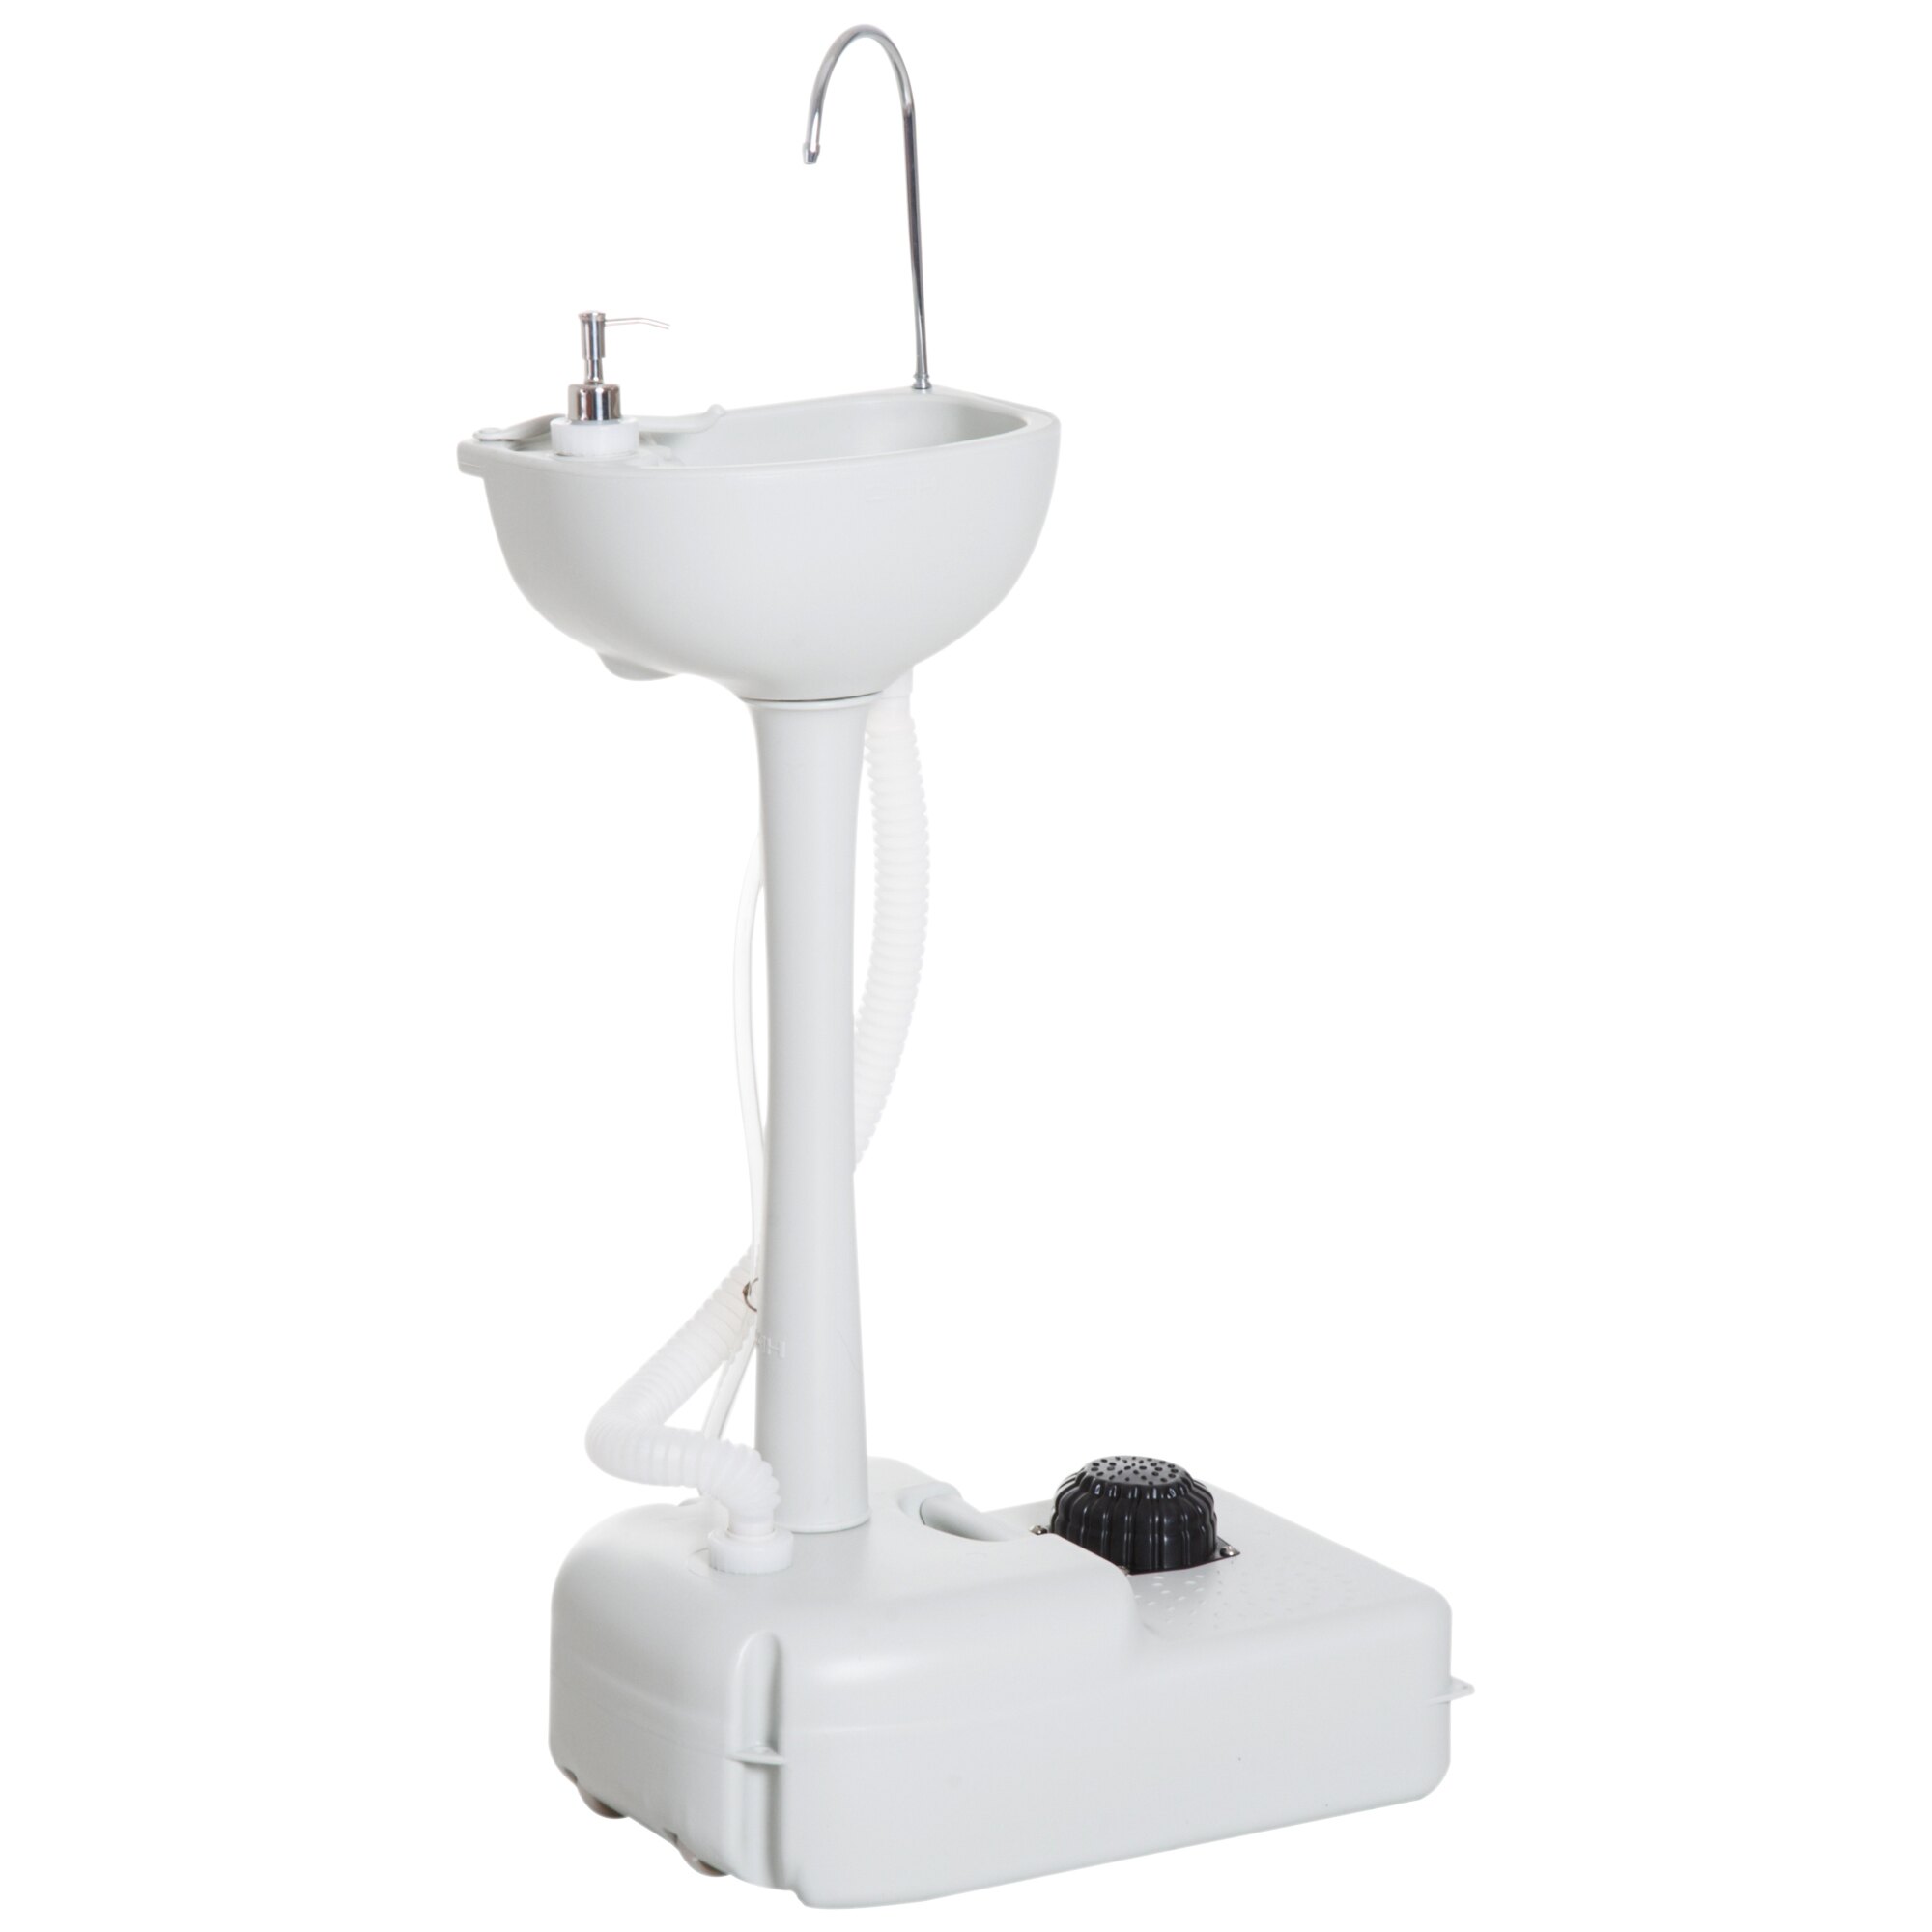 I only need to have water on hand for a quick clean-up of a paint spill, to fill paint water jars, and for a preliminary wash of brushes until I make a trip to the house for a proper washing. I found this portable “camping sink.” It holds 4-5 gallons of water. It has a foot pump that you press once to dispense about 1/2 cup of water, and even comes with a towel holder and soap dispenser. The waste water drains thru a flexible pipe and into a bucket. It also is working perfectly for my needs.
For storage I repurposed a variety of bins we were not using… they are different sizes and materials, but they fit the budget, “free.” And making labels with my Cricut machine tied it all together.


Craigslist provided a source for a vintage sewing cabinet.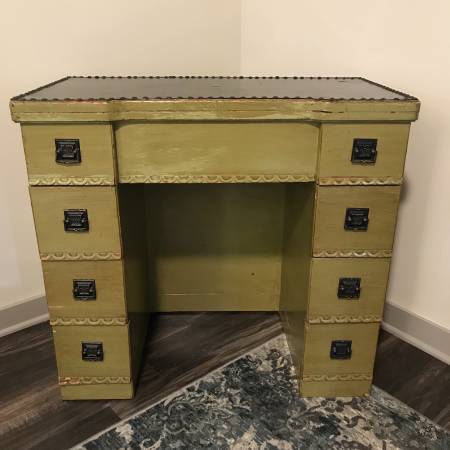
Goodwill shopping allowed me to snag an $8 bookshelf, and hubby had a work table he wasn’t using that I use for my primary work surface. A plant, some lamps, and a few other items, and the studio is officially open!
Now to get busy creating… upcoming art class I am teaching this month, and an art show I will participate in next month.
